7 Brain Exercise Activities to Keep Your Mind Sharp
by Caitlin H,
May 8, 2023
Creating a healthy lifestyle is about many things. It’s about a consistent diet with balanced nutrition. It’s about staying active and exercising. It’s about ensuring your mental well-being. And it’s about keeping your brain active and engaged.
Need a little help keeping that mind sharp, engaged, and present in the moment? Read on!
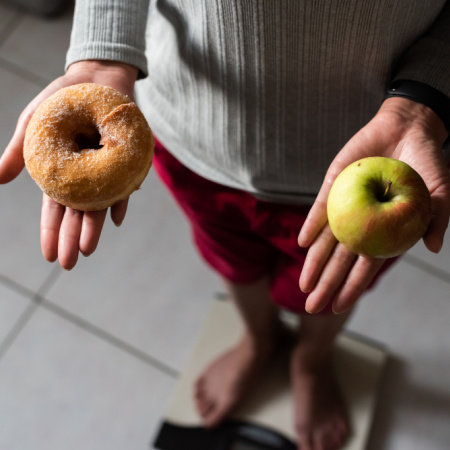
10 Signs Your Diet is a Dud
by Caitlin H,
May 1, 2023
If you’re like many of our customers, there’s a solid chance you have tried some weight loss plans in the past—and didn’t see the long-term results you desired.
Here’s the thing: The people who find lasting success do so by making it a lifestyle. That doesn’t mean you shouldn’t try a diet. But it means you need to find a diet that works for you and allows you to incorporate healthy eating into your everyday life.
But how can you tell if that “diet” can become a lifestyle?
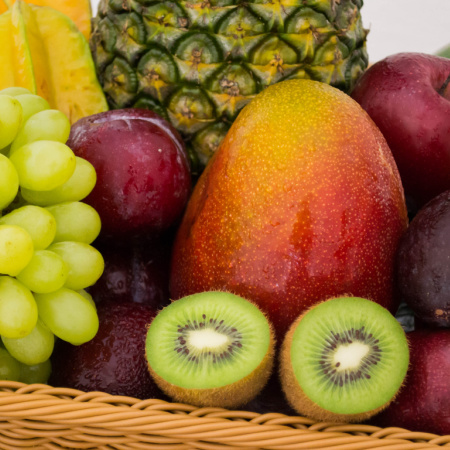
Delicious Recipes For Our Favorite Spring Fruits
by Caitlin H,
Apr 24, 2023
Spring is the most colorful time of year, and that’s especially true when it comes to spring fruits!
While you can find these fruits year-round in supermarkets, using seasonal produce tends to elicit the best-tasting results. You can also visit farmers’ markets to support local growers and get the freshest stuff available.
We love springtime and the colorful fruits that come with it. Now is the perfect time to try a new light, healthy snack or dessert that everyone will love!
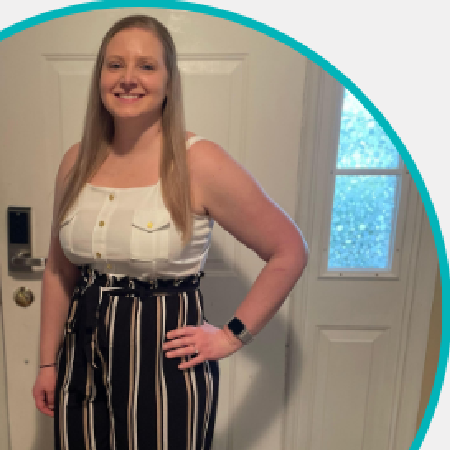
Financial Analyst Loses 10 Pounds in One Month with Diet-to-Go
by Caitlin H,
Apr 17, 2023
Hailey’s 32nd birthday weekend in February was filled with the kinds of things most people like to do on their birthdays — dinner and drink outings, celebrations with friends, and enjoying time with her fiancé.
But after that weekend, Hailey stepped onto the scale and quickly realized she had gained 5 pounds over those few days alone.
Find out how Diet-to-Go helped Hailey lose 10 pounds in 30 days!
10 Fun Fitness Ideas to Make Exercise Enjoyable
by Caitlin H,
Apr 10, 2023
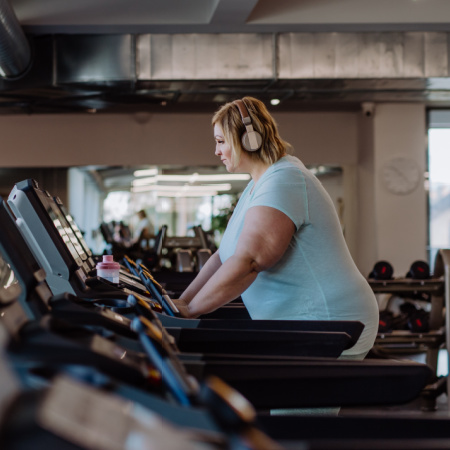
Exercising can sometimes feel intimidating, especially when you go to a gym and see what looks like elite athletes pumping weights or pounding out mile after mile on the treadmill.
It’s okay. We get it. And you are certainly not alone. Thankfully, exercising can take place anywhere, anytime, and in all sorts of fun formats.
The Benefits of Staying Hydrated and How Much Water to Drink
by Caitlin H,
Apr 3, 2023
Water is an essential part of a healthy, well-rounded diet. In fact, studies show that hydrating often may slow the aging process and help you live longer. In addition to adding years to your life, there are also a host of other benefits of drinking water and staying well-hydrated.
So, how much water should you drink each day?
Here’s the thing, it’s not a one-size-fits-all model. But, we can help you figure out what amount is right for you!
5 Weight Loss Tips That Fit Into Your Hectic Schedule
by Caitlin H,
Mar 27, 2023
Remember when it was just before the new year, and you were highly motivated to lose weight and get healthy?
Between balancing things like work, kids, social events, and everything in between, our hectic schedules often mean there’s not much time left for self-care or healthy habits, and that resolution might have fallen to the wayside.
But here’s the thing: Taking care of yourself ensures everything, and everyone else will get the best, most productive version of yourself.
How do you make taking care of yourself a priority again though?
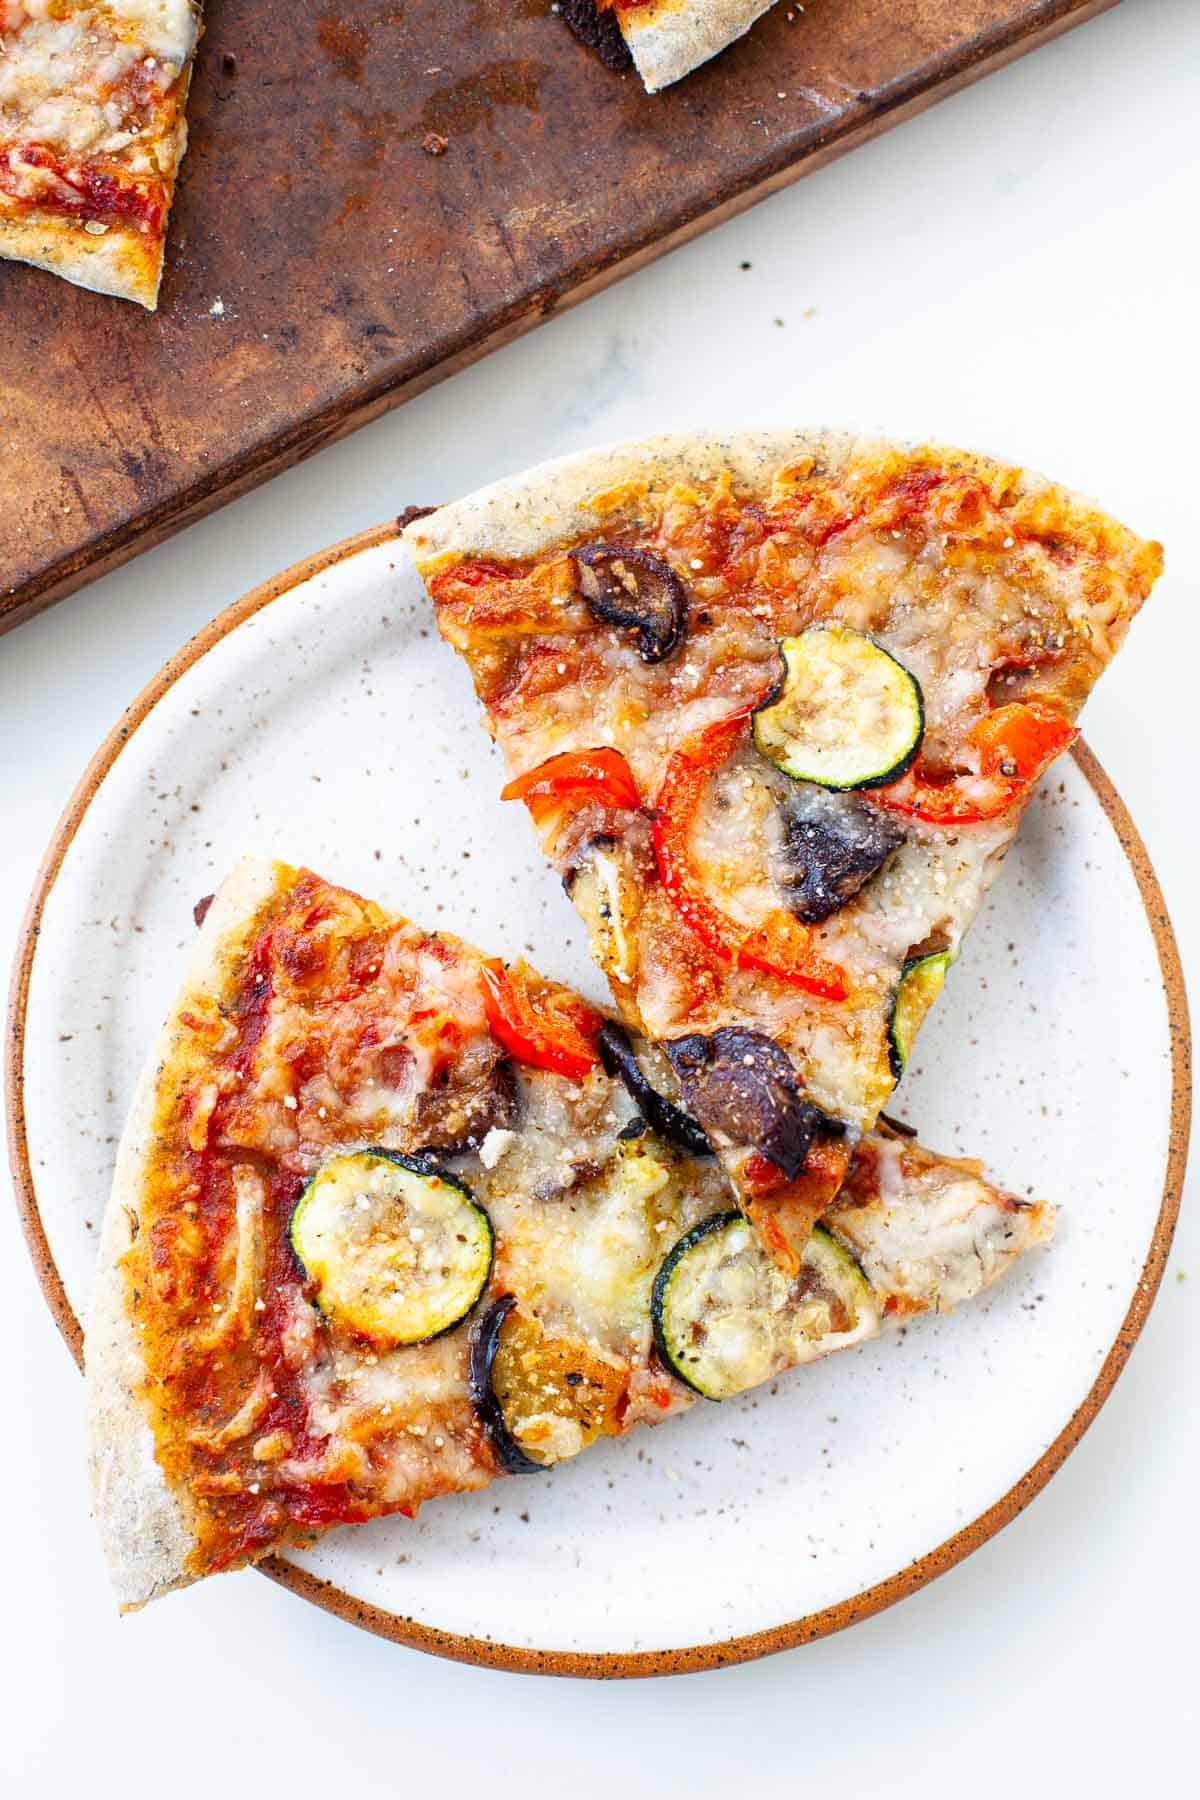
7 Scientific Reasons You Should Try Meatless Monday
by Caitlin H,
Mar 20, 2023
Burgers, steak, lamb chops — red meat is a staple of the American diet.
While it may be unreasonable to cut it out of your diet completely, going vegetarian at least one day a week can go a long way toward improving your health. That’s why we outlined seven scientific reasons why you should try Meatless Monday and reap all the benefits of reducing your meat consumption.
Reverse Your Prediabetes With These 5 Tips
by Caitlin H,
Mar 13, 2023
Prediabetes means your blood sugar levels are higher than normal, but not high enough to be diagnosed as diabetes. It could be considered a blessing in disguise. Knowing that you have it allows you to make new, healthier choices to reverse the condition and hopefully help you avoid developing Type 2 Diabetes.
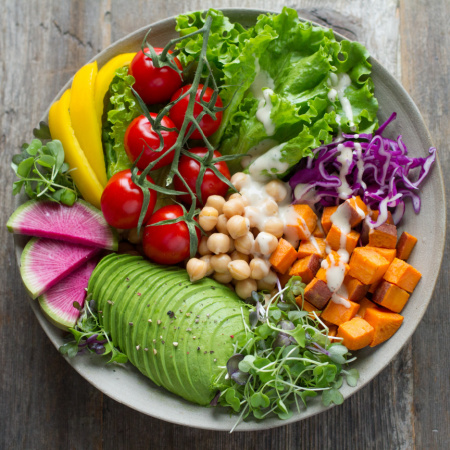
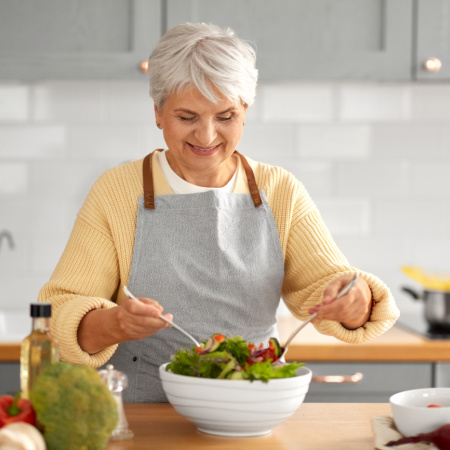
Simple Ways to Tell if Your Food is Nutritious
by Caitlin H,
Mar 6, 2023
Proper nutrition is one of the most important ways to ensure you lead a healthy, happy, long life. In fact, studies show that eating a balanced diet plays a role in all sorts of things.
It can be challenging to know whether your food is nutritious. Labels can be confusing if you’re not a nutrition expert, and honestly, how many of us are? But don’t stress! Check out our easy to follow beginner’s guide to deciphering food labels.
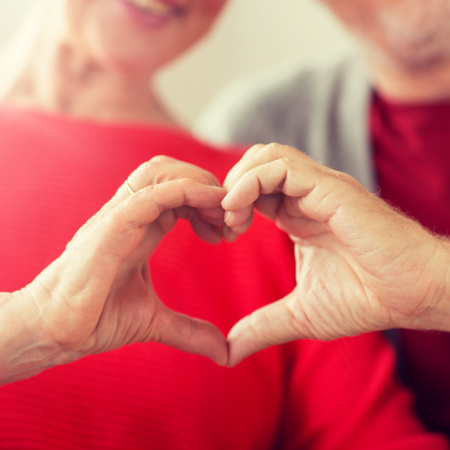
8 Essential Elements for a Healthier Heart
by Caitlin H,
Feb 27, 2023
February is American Heart Month, an annual observance of the importance of cardiovascular health. The American Heart Association and all health providers use the month to remind us to engage in healthy habits that reduce our heart disease risk.
That’s why the American Heart Association (AHA) identifies these eight essential elements to better heart health. Read on to learn more!
Break That Snacking Habit with These Expert Tips
by Caitlin H,
Feb 20, 2023
It’s 8 p.m., and you’re enjoying your favorite TV show or cozied up on the couch with a good book. Then, you get up and find yourself standing in the kitchen, reaching for a handful of chips or a couple of cookies.
If this sounds all-too-familiar, you’re not alone. Mindless snacking is a habit many of us deal with daily, whether sitting at the office (or home office), perusing social media, or even snuggling up in bed.
Thankfully, there are ways you can cut back on snacking.
10 Delicious, Healthy Dinners to Wow Your Sweetheart
by Caitlin H,
Feb 14, 2023
Did you remember Valentine’s Day? If you or your sweetie are trying to eat healthily, why not keep the momentum going by whipping up a delicious dinner?
Want to try a new recipe to surprise your sweetie for Valentine’s Day (or any day)? We’ve got your covered with some tasty choices! Bon appétit!
7 Ways to Make the Most of Your First Day at the Gym
by Caitlin H,
Feb 6, 2023
You did it. You committed to your health and fitness and signed up for a gym membership. And now, it’s time to step into that world of weights and cardio machines for the first time. It can feel pretty darn intimidating. That’s more than okay. It’s a brand new situation, and doing anything for the first time can be nerve-wracking.
Thankfully, the gym is actually a place you can have fun and spend time — you just have to set yourself up for success before showing up for the first time.
These 5 Simple Dietary Swaps Could Lengthen Your Life
by Caitlin H,
Jan 30, 2023
If the potential of adding years to your life by making small changes appeals to you, listen up.
Improving the quality of foods you eat daily — even just a little — can extend your life, no matter how old you are. Making some simple swaps to your overall diet can improve your nutritional intake — and maybe even add years to your life!
Step Outside Your Comfort Zone This Year
by Caitlin H,
Jan 23, 2023
The new year is often when we think about hitting the reset button on some (or several!) aspects of our lives. We consider our intentions, set goals, and start doing what we can to achieve them.
This year, consider the following: How often do you set a goal to do something extraordinary that will give you a sense of true exhilaration?
Maybe it’s time to step outside your comfort zone and live life to the fullest!
8 Simple Ways Women Can Move More While At Home
by Caitlin H,
Jan 16, 2023
You’ve heard it before, and you’ll hear it again; physical activity is crucial to controlling your weight, gaining healthful benefits, and expanding your lifespan.
A recent study found that physical activity was associated with a lower risk of death for women. By participating in daily activity of any intensity, a woman could lengthen her expected lifetime. Fitness guru, Dr. Gabe Mirkin tells us “You do not need to have a specific exercise program to stay fit, you just need to keep on moving for a large part of each day.” That’s good news if you’re not a big fan of what we traditionally associate with exercise.
So, what can you do to make sure you can keep your body in motion each and every day? We have 8 simple ideas for you! (Men, you can do these things, too!)
Lorrie Mills Lost 15 Pounds In Just Three Months
by Caitlin H,
Jan 9, 2023
Lorrie Mills is a giving person. During the holiday season, he sponsors families in need by fulfilling their wishlists and providing food. But in April 2022, Lorrie learned some troubling news that meant it was time to give something to himself, too.
When his doctor started making notes in his medical records about his chances of stroke or heart attack (or worse) Lorrie took him seriously. That same day he found Diet-to-Go, and three months later he’s happy to share what he’s learned.
Clever Hacks To Help You Get a Better Night’s Sleep
by Caitlin H,
Dec 19, 2022
A quality night’s rest is one of the best feelings. It makes it much easier to take on the day’s tasks, make time for exercise, think clearly, be productive and even make better nutrition choices.
Unfortunately, many of us may struggle to get quality sleep.
If you’re one of those people, you may want to take a peek at our list of things you can try in order to up the quantity (and quality) of those zzzzs!
20 Weight Loss-Themed Gifts They’ll Love
by Caitlin H,
Dec 12, 2022
Finding the perfect gift for a loved one can be challenging, especially if you want to support their weight loss goals tactfully.
Thankfully, there are options to give them what they want (or need!) with class. Our holiday gift roundup below includes ideas for 20 thoughtful, quality weight loss-related gifts that will make them smile and help them achieve their goal!